Short Crust Sweet Pastry

In days when I crave something sweet and classy (and that’s daily, lately) this flexible short crust I discovered in Jamie Oliver’s The Naked Chef cook book saves me of going through intense labor to create a delicious tart.
I will be referring to this short crust many times so you better give it a try and familiarize yourself with it.
The next post will be a simple wicked chocolate filling that paired with this crust produces a sublime chocolate tart.
The great thing about this tart crust is that you can make 2-4 at the time and freeze them for later. Then, when time comes, you just pull it out of the freezer and into the oven it goes while you prepare various fillings. Simple as that. If you can make coffee, you can definitely make short crust.
The Short Crust Pastry Recipe
These amounts would be enough to make two 10″ diameter tart crusts. What I did is used one right away and froze the other.
- 1 cup & 2 Tbs butter (yeah baby!)
- 1-½ cups confectioners sugar
- one pinch salt
- 1 Lb flour
- 4 egg yolks
- ¼ cup cold milk (or water)
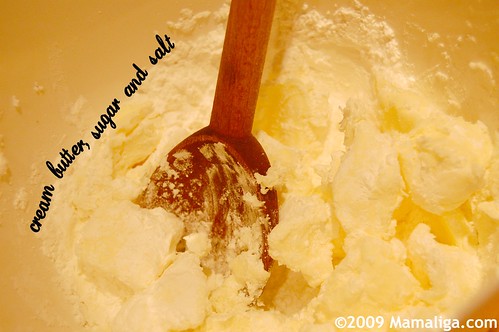
Cream together the sugar, salt and butter (by hand or processor) then add in the flour and egg yolks, and keep mixing just a bit more until the mix looks like it comes together.
Continue with adding the milk and then gently pad it together and form it into a ball. The main thing here is to get the dough to a shape that holds together with the minimum amount of mixing. Gluten development in this case is BAD. Who wants a chewy tart crust??

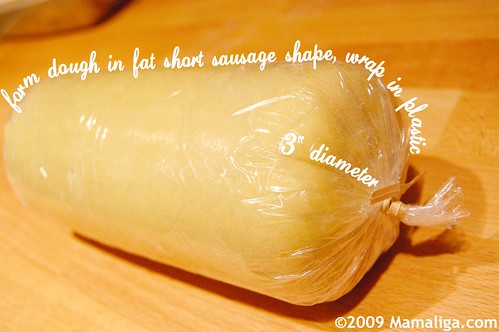
Form your short crust dough into a fat salami-like shape (approx 3″ diameter), wrap it in plastic and chill it for about 1 hour.
Mold it!
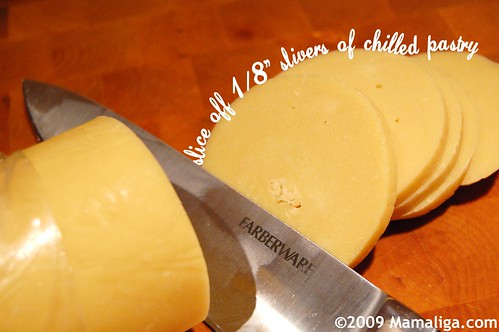
This is the part in the Short Crust movie where cut 1/8″ slices of the (chilled – NOT frozen!) dough, and start lining your tart pan.
[ad#300×250-green]
Slice enough slivers that would cover the bottom and edges of your tart pan. I usually use up the whole dough since I form the crust and then freeze it.
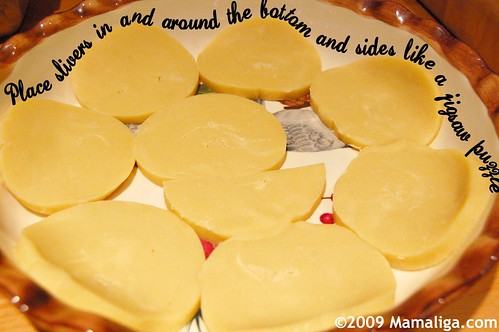
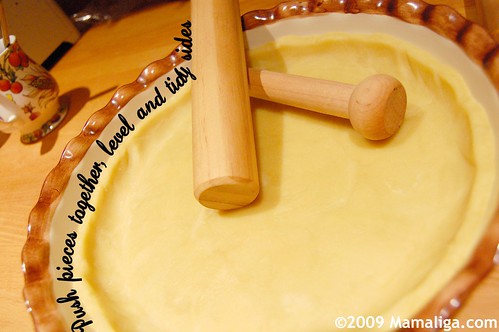
Next, lay the slices on the bottom of your pan and sides, then fill in the irregular empty spaces in between the round slivers with cut-to-shape slices. It is like a jigsaw puzzle. Push the pieces together, and cut off the excess dough.
Level the tart dough as close as you can to an even thickness. Some like to leave the excess dough hang over the edge of the pan. I prefer not to do that with a tart where I think it looks more appealing – as opposed to a pie where the edge looks nice and rough if it hangs over the rim of the pie pan.
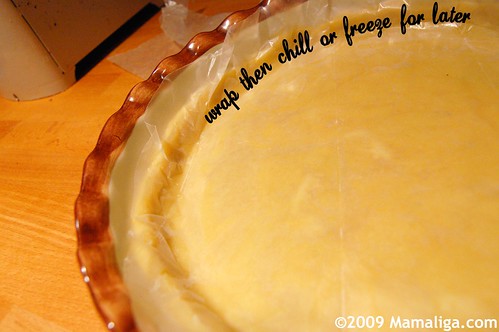
At this point, let the formed tart stay in the freezer for one hour before you bake it. The ones I store for later I cover them with plastic wrap (or wax paper) and freeze.
Baking The Tart Shells
There are two ways of baking a tart shells, basically having to do with how long you keep them in the oven:
The regular way – where you bake them for 15 minutes at 350 F. This timing will thoroughly bake the shell (will be slightly brown), making it proper to use for any uncooked fillings like our upcoming chocolate filling I mentioned. In other words, you bake the shell, let it cool, fill it and… devour it!
Blind baked – this is where you keep the shell in the 350 F degree oven only for 12 minutes, having it slightly cooked, since you will keep baking it further after adding the fillings that need baking.
But don’t forget, the tart crust needs to be in the freezer at least for 1 hour before going into the 350 F degree oven in both case.
From here, the sky is your limit. Fill the baked shells with anything from chocolate, fruit, lemon, almond-pecan, fillings. It is a fast desert for your insane days.
Chocolate filling (uncooked) post follows soon.
Tart Crust, Jamie Oliver, Short Crust, sweet pastry, recipes, desserts, tart

I loved the pictures!
This is very interesting way to make a pie, very nice pictureas… as always…
Thank you for being with me into this journey of both way, from your house and your children to my house and my children,HARPY THANKS GIVING!
Miriam – thanks for the comment!
Dear Illeana: Thanks for the kind words! Glad to connect and have a GREAT Thanksgiving as well!!
Nice! An excellent primer on making pastry shells. Thanks for sharing. As always, another excellent depiction of the process. Well done!
mmmmmmmmmm
what can I do for a sweet pastry filling. I am thinking of doing strawberries and chocolate. Is that a good combination?
Amy – sounds good to me. Really, you can’t go wrong with chocolate.